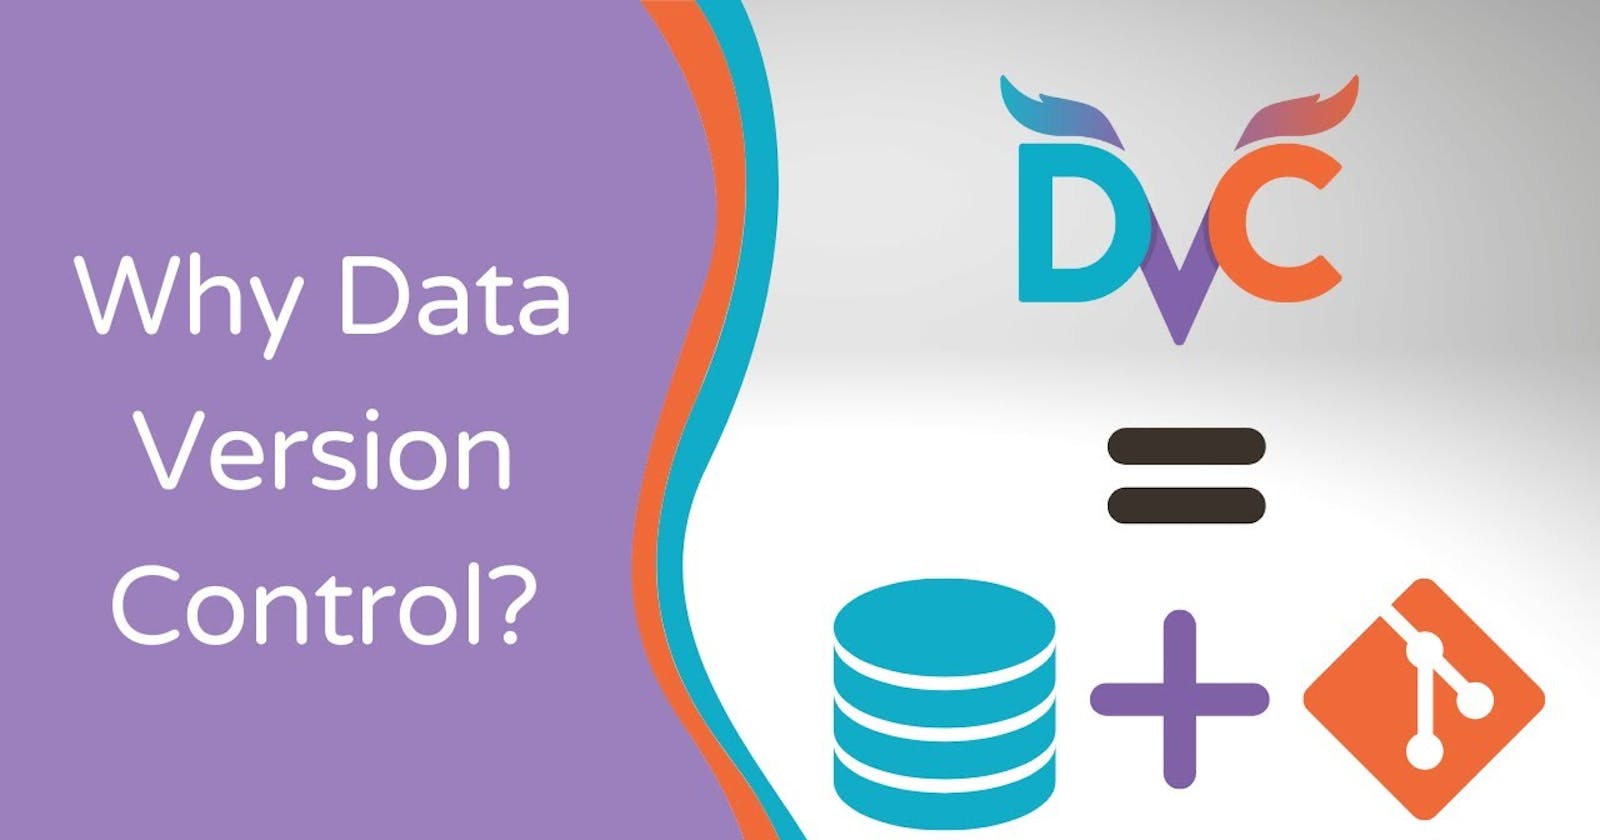
DVC stands for Data Version Control. It is an open-source tool that is used to manage and version data sets, machine learning models, and experiments. DVC is designed to work with Git, and it allows you to track changes to your data and code, collaborate with team members, and reproduce your experiments with ease.
How can I use DVC for my project? To use DVC for your project, you'll need to follow these steps:

- Install DVC: First, you need to install DVC on your local machine. You can do this by following the installation instructions provided on the DVC website.
- Initialize DVC: Once you have installed DVC, you need to initialize it in your project directory. To do this, open a terminal window, navigate to your project directory, and run the following command:
dvc init
This command will create a .dvc directory in your project directory, which is where DVC stores its configuration files.
Create a DVC remote: DVC stores its data and models in a remote storage location. You can use cloud storage services like AWS S3, Google Cloud Storage, or Microsoft Azure Blob Storage, or you can use a local directory as your DVC remote. To create a DVC remote, run the following command:
Let's Connect your Google drive for Remote Data Storage:
Go to your Gdrive and Create a Empty Folder
Go to that Folder
See In the URL it's look like this

After the : folder/unique code copy your code.
dvc remote add <remote_name> <remote_url>
# In remote_name change this to your remote name [ you can write any in it ]
- Replace
<remote_name>with a name of your choice, and<remote_url>with the URL of your remote storage location. For example, to use a local directory as your DVC remote, you can run the following command:
dvc remote add myremote /path/to/remote/directory
#change this /path/to/remote/directory to your unique code
- Add your data to DVC: To add your data to DVC, run the following command:
dvc add <path/to/data>
- Replace
<path/to/data>with the path to your data file or directory. For example, if you have a CSV file namedmydata.csvin a directory nameddata, you can add it to DVC by running the following command:
dvc add data/mydata.csv
This command will create a DVC file named mydata.csv.dvc in your project directory. The DVC file contains a reference to the location of your data file in the DVC remote.
- Update your code to use DVC: To use DVC in your code, you need to replace references to local file paths with references to DVC URLs. For example, instead of loading your data file using a local file path like this:
import pandas as pd

data = pd.read_csv('data/mydata.csv')
You can load it using a DVC URL like this:
import pandas as pd
import dvc.api

data_url = 'data/mydata.csv'
data = pd.read_csv(dvc.api.get_url(data_url))
This code uses the dvc.api.get_url() function to retrieve the URL of the data file in the DVC remote.
- Train your model and save it to DVC: When you train your model, you can save it to the DVC remote instead of a local directory. To do this, use the
joblib.dump()function to save your model to a DVC URL. For example:
import joblib
import dvc.api

# Train model
model = ...

# Save model
model_url = 'models/mymodel.pkl'
joblib.dump(model,open("my_model.pkl", "wb"))
dvc.api.get_url(model_url), 'wb')
This code saves the model object to a DVC URL and writes it to the DVC remote in binary mode.
- Add your code and DVC files to Git: Finally, you need to add your code and DVC files to Git and commit them to the repository. To do this, run the following commands:
git add .
git commit -m "Added DVC integration and trained model"
These commands will add all your changes to Git and create a new commit with a descriptive message.
- Push your code and DVC files to remote: To share your changes with your team members or deploy your code to production, you need to push your changes to Git and DVC remote. Run the following command to push changes to Git:
git push
dvc push
Congratulation! 😍

That's it! You have successfully integrated DVC into your project and versioned your data, code, and models. You can now collaborate with your team members, reproduce your experiments, and deploy your code with confidence.
Of course, there are many more features and use cases for DVC that we haven't covered in this tutorial, such as tracking metrics, managing large data sets, and working with multiple DVC remotes. To learn more about DVC, I recommend checking out the official DVC documentation and experimenting with it on your own projects.
